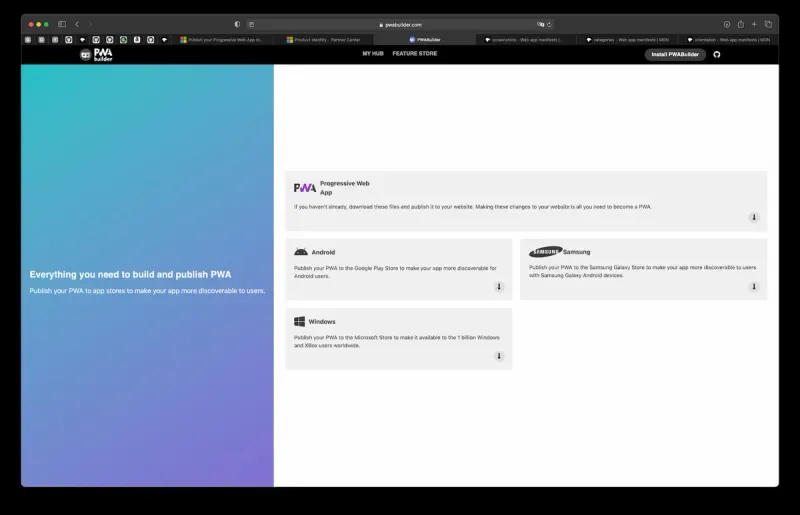
Start of the journey
If you want to offer your progressive web app in Microsoft’s App Store, the steps you have to take aren’t actually that much. The whole process is remarkably simple and after you complete it, your PWA is available for download in the App Store as a native app.
But before we begin, why even publish to the Microsoft App Store? My main motivation was to create my first Windows app without learning a new SDK and potentially also a new programming language. PWAs are best consumed directly from the web, but Microsoft’s converter tool allowed me to relatively quickly publish my PWA as a native Windows app as well.
First comes the payment
Because you need a verified and active account for the Microsoft Partner Center, a one time payment of about 16 Euros has to be made with your Microsoft Account. It’s a requirement, but still cheaper than for Google Play Console, which is about 25 Euros once and much cheaper than Apple’s 99 Euros subscription fee, which has to be renewed every year.
Ready when you are
Alright, now it’s time to reserve your app name in the Microsoft Store. The central hub for managing your Windows apps is the aforementioned Microsoft Partner Center. There you have the option to create a new app and manage the submission process. As the first step, you can reserve your desired native app name. After successful reservation, the following values are available.
- Package ID
- Publisher ID
- Publisher display name
Keep the tab where they are visible open so can quickly copy them in the next step.
Time to build
Now comes the actual step where you convert your PWA. The process is very simple thanks to a tool called “PWABuilder”, developed by Microsoft. After entering your web app’s start URL, the tool generates a score to evaluate the readiness of the PWA. If all required fields are valid, you can initiate the download for the files required to be uploaded to Microsoft Partner Center. Please pay special attention to the “Options”-button, which opens up a view where you have to enter the three IDs created before.
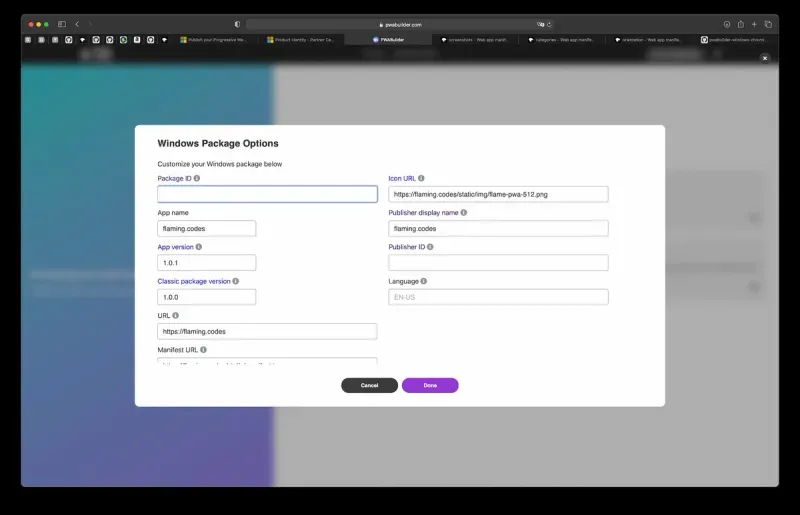
Once all the option fields are valid, you can download the files. Now it’s time to upload them to the app store.
Finishing line
We're almost done! What's now left is the submission of your new native Windows app, generated from your PWA. By clicking “Start your submission”, a stepper guides you through the required tasks to complete before your submission can be reviewed.
This is mainly the same procedure as with Google Play Console or Apple’s App Store and most likely takes longer than the convertion step. You have to provide some metadata, upload images to be displayed in the store and evaluate your app’s age restriction. Furthermore, you can set a price for your future Windows app as well. And because this app will live in the Microsoft world, both Xbox and HoloLens can be marked as platforms for your Windows app.
Restricted capabilities
One important step you have to do before finishing the submission is to explain a native feature required by the Windows app called “runFullTrust”. It’s automatically added by the converter tool and marked as a “restricted capability”. To pass review, you have to navigate to your submission, then open “Submission Options” and provide a note to the review team. Just comment that this capability was automatically added by the tool, and everything should be fine - no more extra work required.
Your Windows app
After successful review, your PWA is published in the Microsoft App Store as a native app for Windows. Depending on your web app’s configuration, only changes to the manifest will require a new upload. My app uses an online-first strategy, therefore content is always up to date.
It’s a fun learning experience for a rainy Saturday afternoon. In my opinion, native apps aren’t required any more when using a well designed progressive web app, yet having a store listing is also quite nice. The payment to unlock a Microsoft account is very small, which is why I decided to go with it.
I hope you enjoyed this tutorial and learned how to quickly and easily get your very own Microsoft Store app!